How to Make Homemade Vanilla Extract
Making your own vanilla extract is not just a craft; it’s a delightful experience that transforms your kitchen into a haven of rich aromas and flavors. The process is straightforward but offers immense satisfaction, especially when you see your creations elevate your baked goods and desserts. This blog post will provide you with an in-depth guide to crafting homemade vanilla extract, covering everything from selecting the right ingredients to tips for successful infusion.
Why Make Homemade Vanilla Extract?
Cost Savings
One of the most compelling reasons to make your own vanilla extract is the significant cost savings. High-quality vanilla extracts, especially those made with pure ingredients, can be prohibitively expensive in stores. A small bottle can cost upwards of $10 or even more, depending on the brand and quality. When you make your own, you can source the ingredients in bulk, which drastically reduces the cost per ounce. Moreover, homemade vanilla extract can be stored indefinitely if kept properly, making it a worthwhile investment for any baking enthusiast.
Control Over Flavor
Another advantage of homemade vanilla extract is the control it gives you over flavor and potency. With store-bought extracts, you often have to settle for a flavor profile that may not match your preferences. When you create your own, you can choose between different types of vanilla beans, each imparting a unique taste. Want a sweeter and creamier flavor? Use Madagascar vanilla beans. Looking for floral notes? Opt for Tahitian beans. This level of customization allows you to craft an extract that perfectly suits your culinary needs.
Pure Ingredients
In today’s world, many consumers are increasingly conscious about what goes into their food. By making your own vanilla extract, you can ensure that it is made from pure ingredients without any additives or artificial flavors. This is particularly beneficial for those with dietary restrictions or preferences for organic products. You’ll know exactly what’s in your extract, and you can feel confident using it in all your recipes.
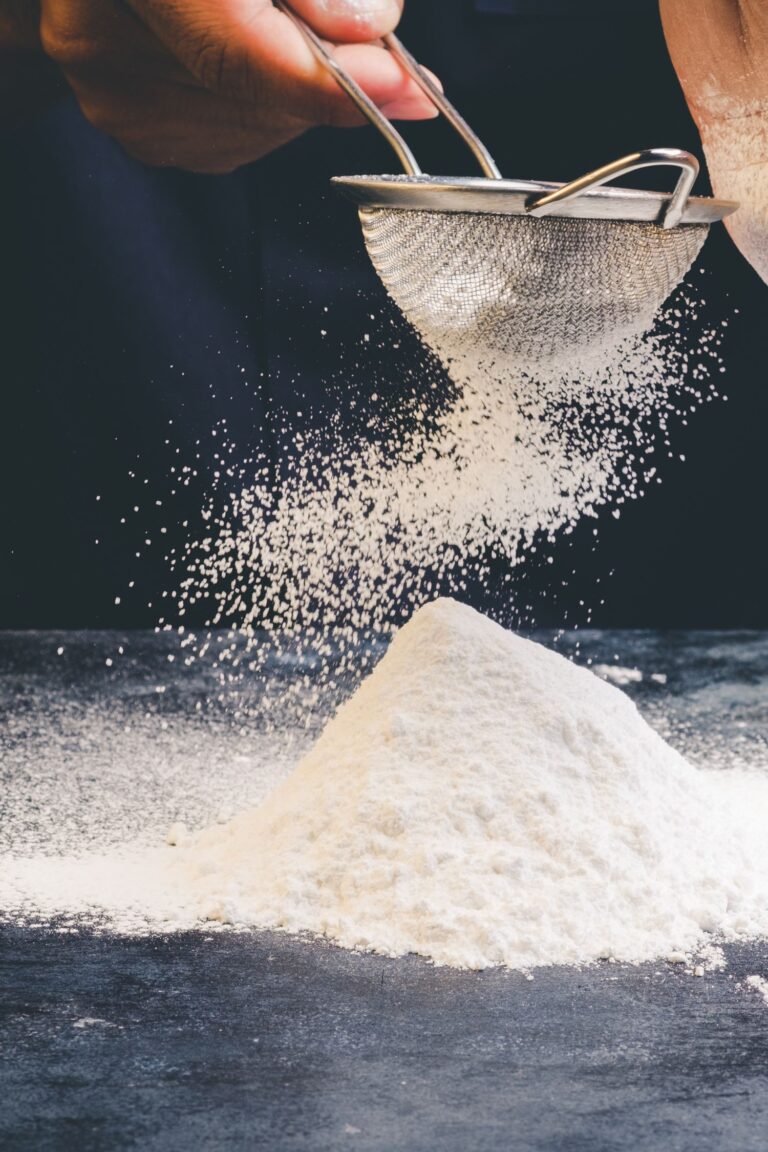
Ingredients Needed
Vanilla Beans
Vanilla beans are the heart of your extract, and their quality significantly impacts the final product. There are three primary types to consider:
- Madagascar Vanilla Beans: These are the most common and are known for their rich, creamy flavor and strong aroma. They are often considered the gold standard for vanilla extracts.
- Tahitian Vanilla Beans: These beans offer a more floral and fruity flavor profile, making them ideal for those who prefer a sweeter taste.
- Mexican Vanilla Beans: Known for their unique spicy and earthy notes, these beans add a distinct depth to your extract.
For making vanilla extract, Grade B beans are highly recommended. They are less attractive for culinary uses but have a higher vanillin content, making them perfect for extraction purposes.
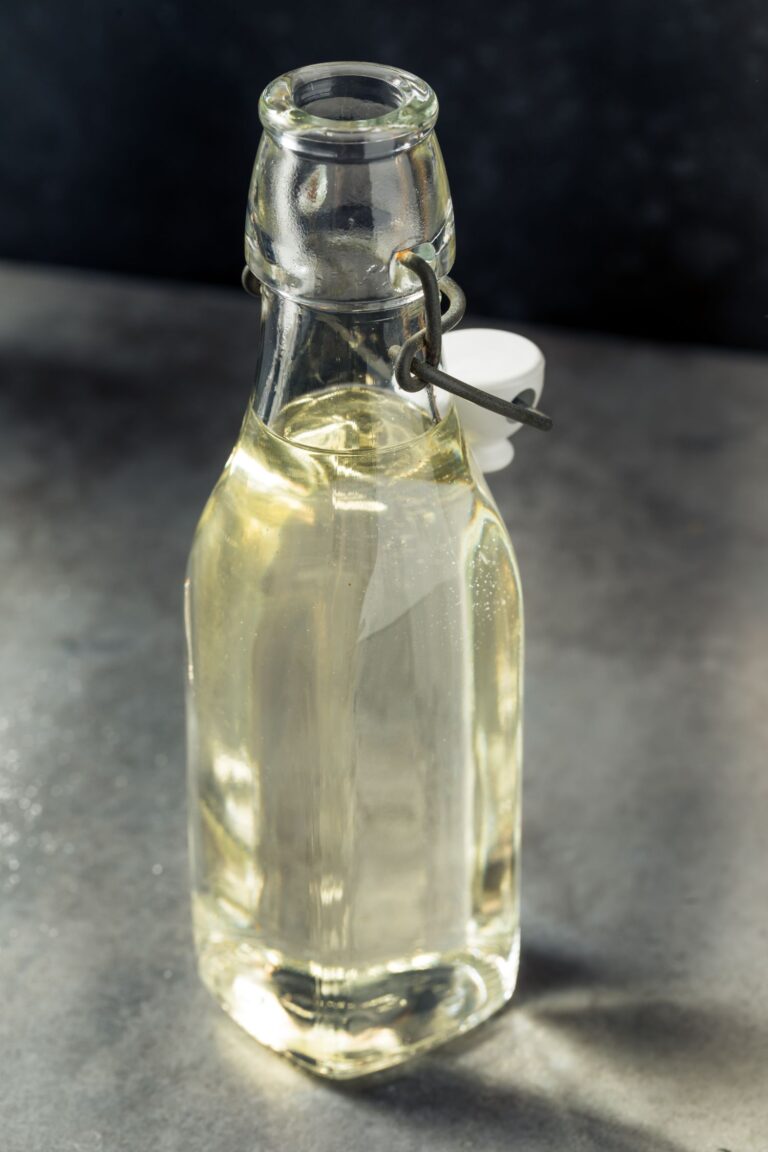
Alcohol
The choice of alcohol is crucial since it acts as the solvent that extracts the flavors from the vanilla beans. Here are some popular options:
- Vodka: The most neutral option. An 80-proof vodka is typically recommended as it won’t interfere with the vanilla flavor while still effectively extracting it.
- Bourbon: For those who want to add a rich, warm flavor to their extract, bourbon is an excellent choice. It pairs beautifully with sweet desserts.
- Rum: Using rum will impart a sweet undertone to your extract, which can enhance baked goods like cakes and cookies.
Optional Additions
While pure vanilla extract is fantastic on its own, you can experiment with optional ingredients to create flavored extracts. Consider adding:
- Sweeteners: A touch of honey or maple syrup can add sweetness to your extract.
- Spices: Adding cinnamon sticks, nutmeg, or even citrus peels can create unique flavor combinations that elevate your baking.
Equipment Required
To make homemade vanilla extract, gather the following equipment:
- Glass Bottles or Jars: Choose bottles with tight seals to prevent air from entering and spoiling the extract. Dark glass bottles are ideal as they protect the contents from light, which can degrade flavor over time.
- Funnel: A funnel will help you pour alcohol into the bottles without spilling.
- Sharp Knife or Kitchen Shears: You’ll need these to split the vanilla beans.
- Measuring Tools: Depending on how much extract you plan to make, measuring cups or spoons will help ensure accuracy.
Before starting, it’s wise to sterilize your bottles to prevent any unwanted bacteria from affecting the infusion process. You can do this by washing them in hot soapy water or running them through a dishwasher cycle.
Step-by-Step Instructions
1. Prepare the Vanilla Beans
Begin by taking your vanilla beans and slicing them lengthwise down the center with a sharp knife. This exposes the tiny seeds within the beans, which hold a considerable amount of flavor. For stronger extracts, you can also chop the beans into smaller pieces after splitting them.
2. Fill the Bottles
Place the prepared vanilla beans into your sterilized glass bottles or jars. Depending on how potent you want your extract to be, add between 3 to 6 beans per cup of alcohol. Once the beans are in place, slowly pour your chosen alcohol over them until they are fully submerged. Leave a little space at the top of the bottle to allow for expansion during storage.
3. Seal and Shake
Secure the lid tightly on each bottle. Give it a good shake to mix everything well—this helps distribute the vanilla flavor evenly throughout the alcohol.
4. Store and Wait
Store your bottles in a cool, dark place, such as a pantry or cupboard away from direct sunlight. This environment ensures that the extract develops its flavors without being exposed to heat or light. Shake the bottles occasionally—about once a week—to help enhance the infusion process.
5. Infusion Time
Patience is key! Let your extract sit for at least 2 months for a basic flavor profile. However, if you want a richer and more robust flavor, consider letting it infuse for up to 12 months. The longer it sits, the more intense and complex the flavors will become.
Tips for Success
- Label Your Bottles: As you prepare your extracts, label each bottle with the date of preparation and type of bean used. This way, you’ll know when they’re ready and can track how different beans influence flavor over time.
- Reuse Vanilla Beans: After your first batch is complete, don’t discard those beans! You can reuse them by adding fresh alcohol to the same beans for a second batch. This method allows for another extraction without needing completely new ingredients.
- Adjust Bean Quantity: For those looking for stronger flavors, consider adjusting the number of beans used based on personal preference—using more beans will create a double-fold extract that packs a more potent punch.
Creative Uses and Gifting Ideas
Recipe Ideas
Homemade vanilla extract can enhance countless recipes across various culinary applications:
- Baking: Use it in cakes, cookies, muffins, and brownies to elevate flavors.
- Desserts: Incorporate it into ice creams, puddings, custards, and whipped cream for added richness.
- Beverages: Add it to smoothies, coffee, or cocktails for an extra layer of flavor.
Gifting
Homemade vanilla extract makes for an incredibly thoughtful gift! Consider packaging it in decorative bottles with personalized labels that include not only the name of the extract but also some suggested recipes or serving ideas. Here’s how you can elevate your gifting:
- Create Printable Labels: Design custom labels that include ingredients and instructions on how to use it.
- Decorative Wrapping: Use ribbons or twine around the neck of the bottle for an aesthetically pleasing presentation.
- Gift Sets: Consider pairing your homemade vanilla extract with other homemade goodies like cookies or baked goods for a complete gift package.

How to Make Vanilla Extract
Ingredients
- 6 vanilla beans
- 1 cup vodka 80 degree
Instructions
- Split vanilla beans lengthwise with a sharp knife to expose the seeds.
- Place the prepared beans into a sterilized glass bottle.
- Pour alcohol over the beans until fully submerged. Leave a little space at the top.
- Secure the lid tightly, and Shake the bottle to mix the contents well.
- Store in a cool, dark place. Shake occasionally (once a week) to enhance infusion.
- Let it sit for at least 2 months for basic flavor. For a richer flavor, allow it to infuse for up to 12 months.
Notes
Tips for Success:
- Label your bottles with the date and type of beans used.
- Reuse vanilla beans for a second batch by adding fresh alcohol.
- Adjust the number of beans for single or double-fold extracts.
Creative Uses:
- Baking: Cakes, cookies, muffins, brownies
- Desserts: Ice creams, puddings, custards
- Beverages: Smoothies, coffee, cocktails
Gifting Idea:
Package in decorative bottles with a personalized label and include suggested recipes or serving ideas!Frequently Asked Questions (FAQs)
1. How long does it take to make homemade vanilla extract?
Homemade vanilla extract requires a minimum infusion time of 2 months for basic flavor. For a richer and more complex flavor, it’s recommended to let it infuse for up to 12 months.
2. Can I reuse the vanilla beans after making extract?
Yes! After your first batch is complete, you can reuse the vanilla beans by adding fresh alcohol to the same beans for a second batch. This will allow for another extraction without needing completely new ingredients.
3. What type of alcohol is best for making vanilla extract?
The most common choices are vodka, bourbon, and rum. Vodka is the most neutral option, while bourbon adds a rich flavor, and rum imparts sweetness. Choose based on your flavor preference!
4. How should I store my homemade vanilla extract?
Store your homemade vanilla extract in a cool, dark place, such as a pantry or cupboard. Ensure the bottle is tightly sealed to prevent air from entering.
5. Can I add other flavors or spices to my vanilla extract?
Absolutely! You can enhance your vanilla extract by adding sweeteners like honey or maple syrup and spices like cinnamon sticks or nutmeg for unique flavor combinations.
6. How can I tell when my vanilla extract is ready to use?
Your vanilla extract will be ready to use after at least 2 months of infusion. It should have a rich color and aroma. The longer it sits, the stronger the flavor will become.
7. Is homemade vanilla extract better than store-bought?
Many people prefer homemade vanilla extract because it allows for customization with pure ingredients, often resulting in a fresher and more robust flavor compared to many store-bought options.
8. Can I make vanilla extract without alcohol?
While traditional vanilla extract requires alcohol for proper extraction, you can make a non-alcoholic version using vegetable glycerin as a substitute. However, the flavor may differ from classic extracts.
If you have any other questions about making homemade vanilla extract, feel free to reach out!
Conclusion
Making homemade vanilla extract is not only an economically smart choice but also a rewarding experience that allows you to explore flavors at your own pace. The benefits of creating your own blend from pure ingredients cannot be overstated—every drop will bring a burst of rich flavor to your culinary creations.
I encourage you to try this simple yet fulfilling process and experiment with various types of vanilla beans and optional spices or sweeteners. With time and patience, you’ll be able to enjoy an exquisite homemade product that enhances everything from pastries to beverages.